Temple Wallet

info
Former name of the Temple wallet is Thanos; it may then sometimes be referred to as 'Thanos' in some screenshots
Install Temple
Go the the Temple web page and follow the instructions by clicking on "Install Thanos" button.
If you install Temple for the first time, select the "Create a new wallet" option.
Import faucet file
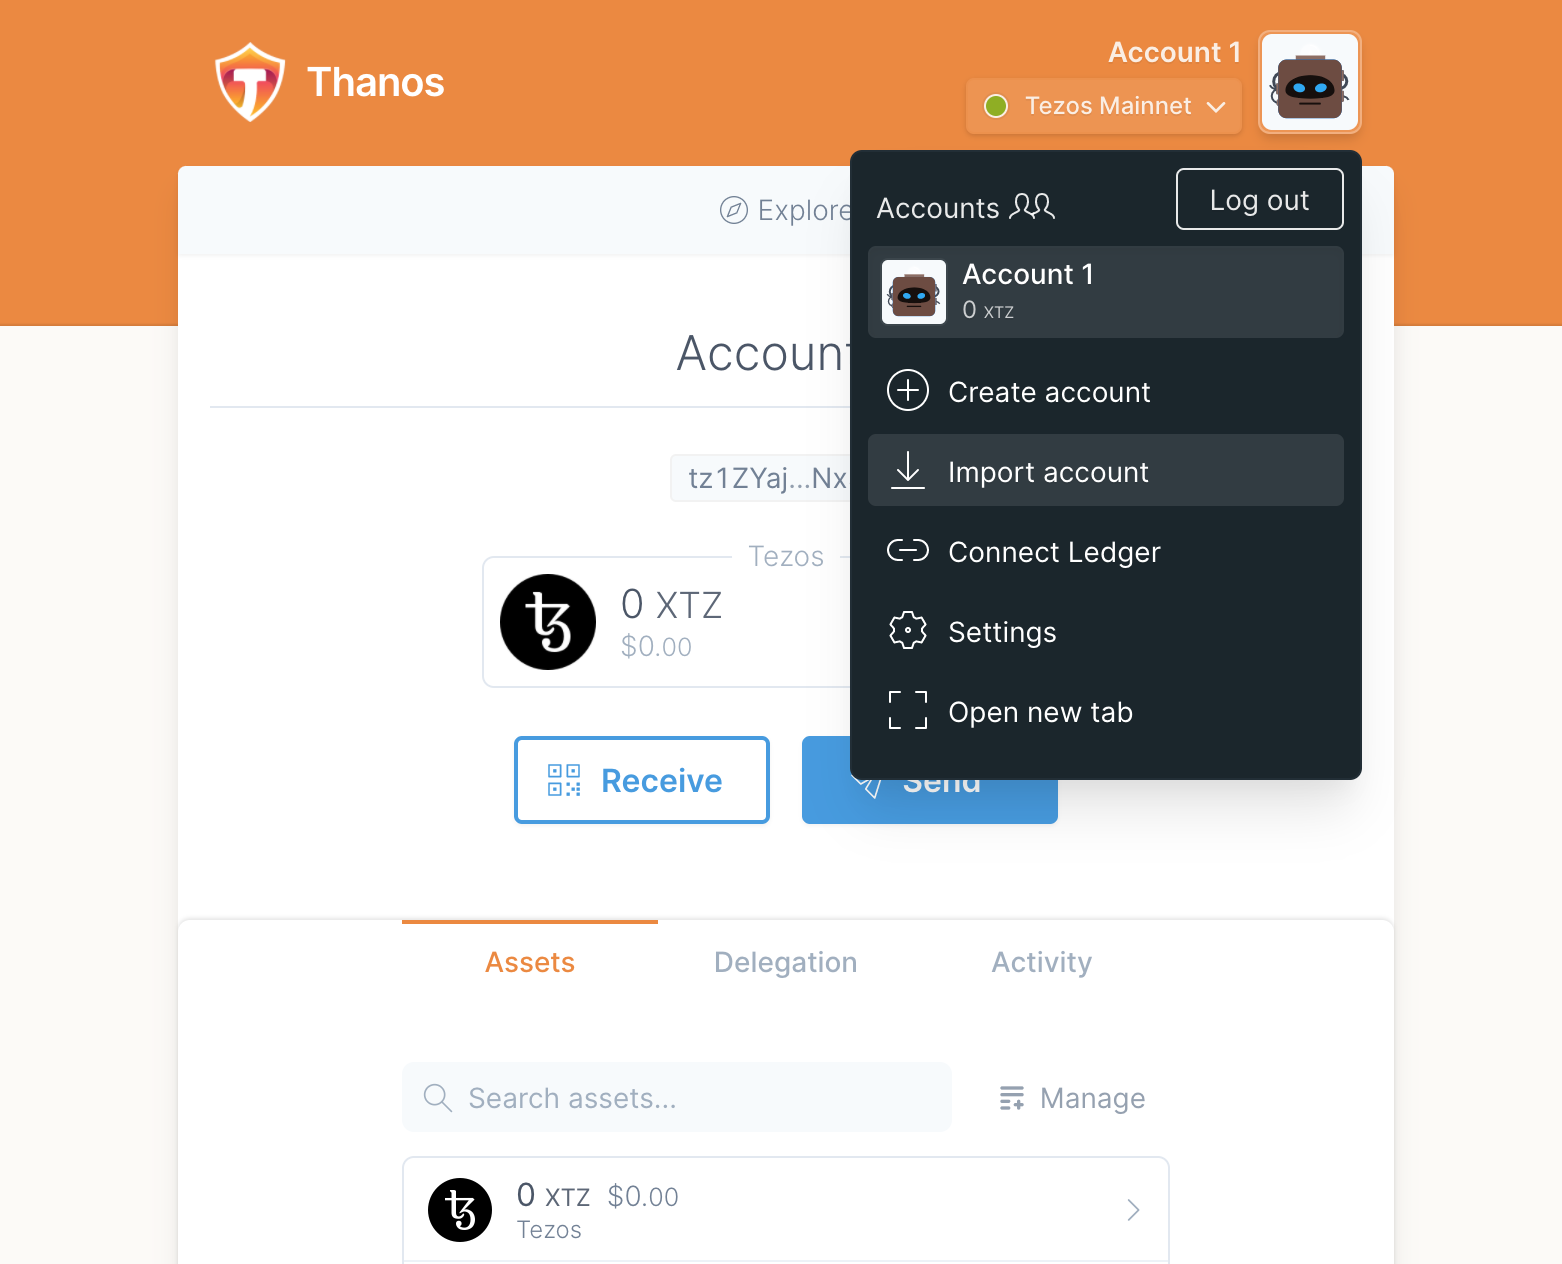
In the Temple user interface, open the menu by clicking the avatar image in the upper right hand corner, and click on the "Import Account" option, as illustrated below:
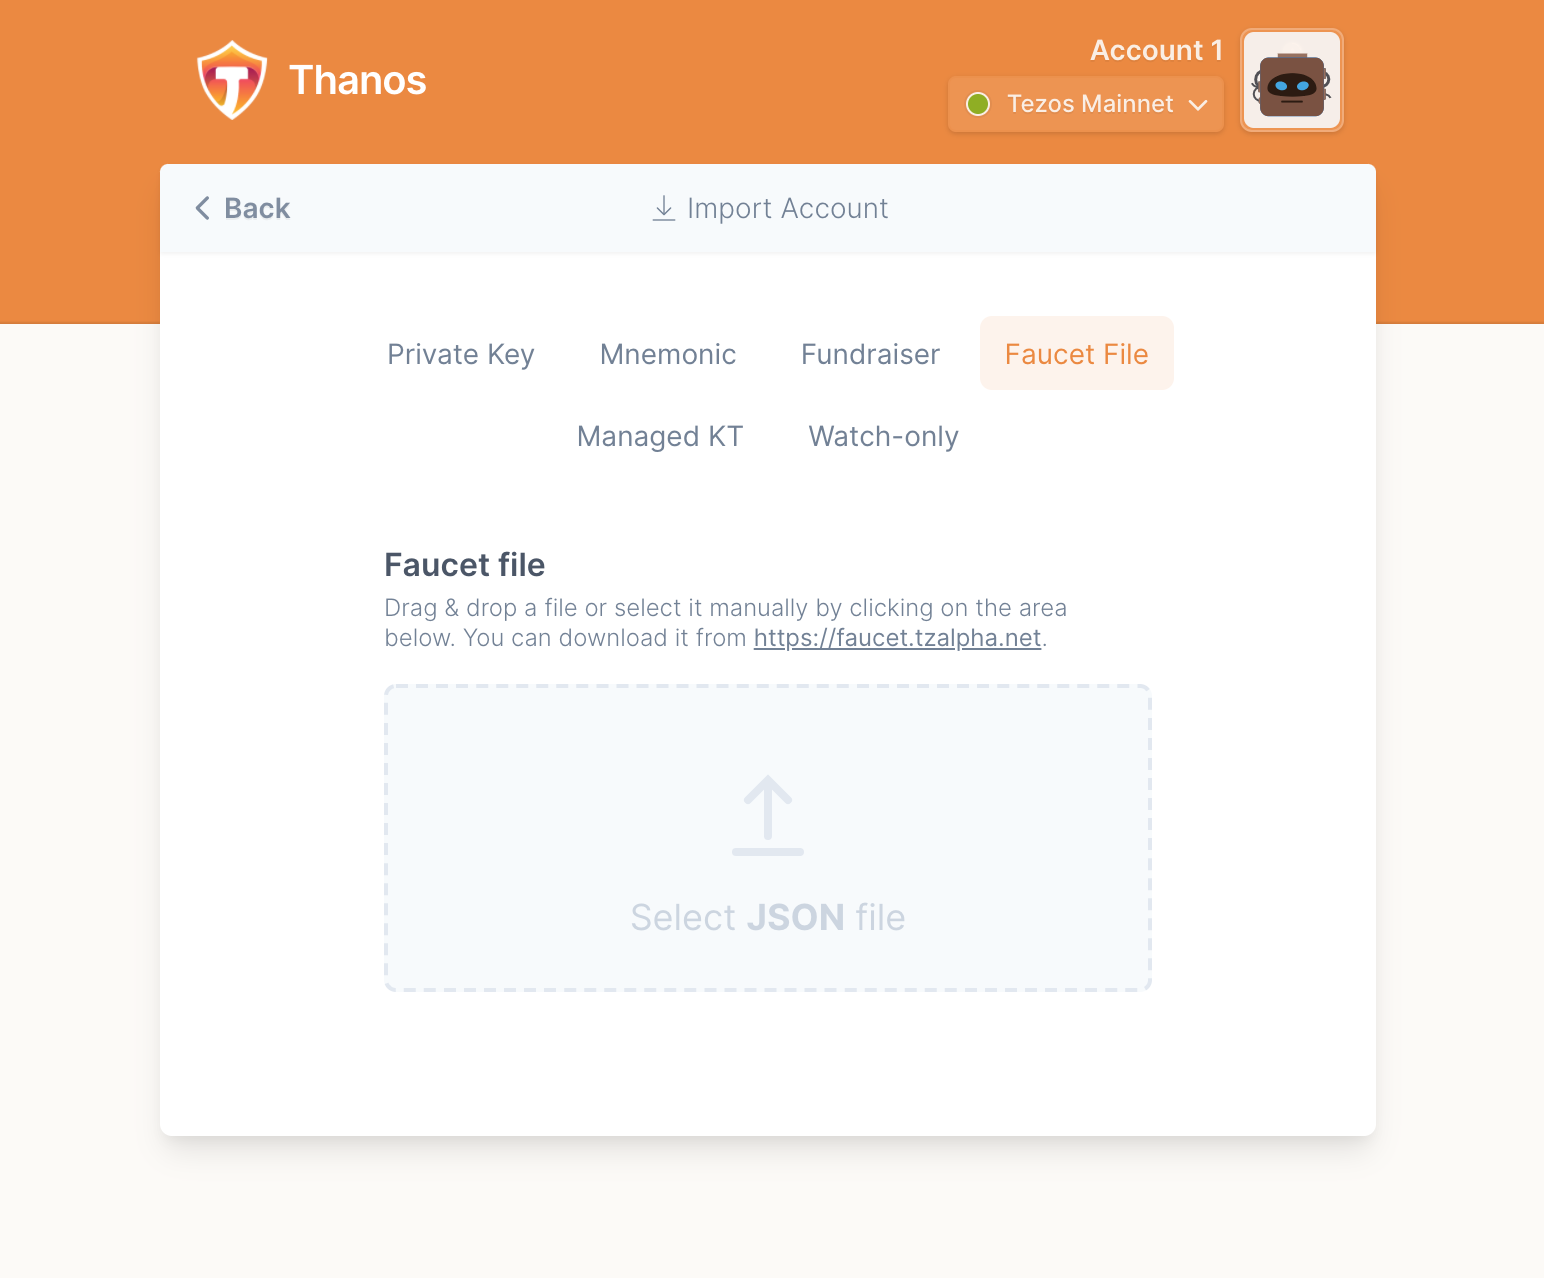
Click on the "Faucet File" option as illsutrated below, and select the json account file on drive:
You may then give a logical name to the account (for example, "Admin" or "Completium test user"). Click the "edit" button as illustrated below:

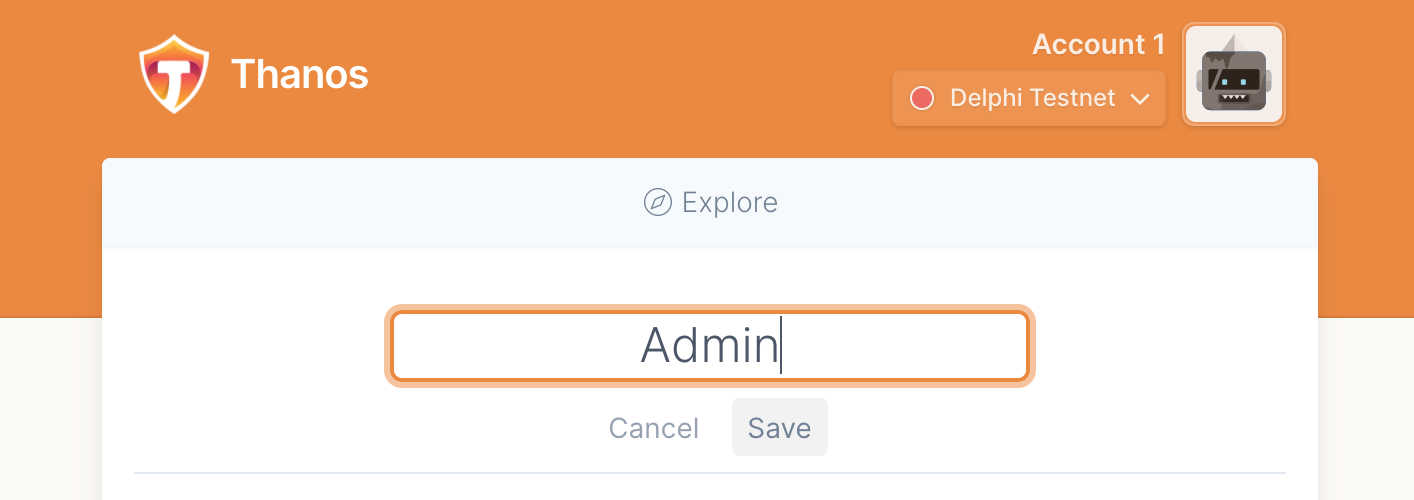
Then enter then the account's logical name of your choice and click "save":
Connect to a Dapp
When connecting to a Dapp, you are invited to select the account you want to use to interact with the Dapp, as illustrated below:
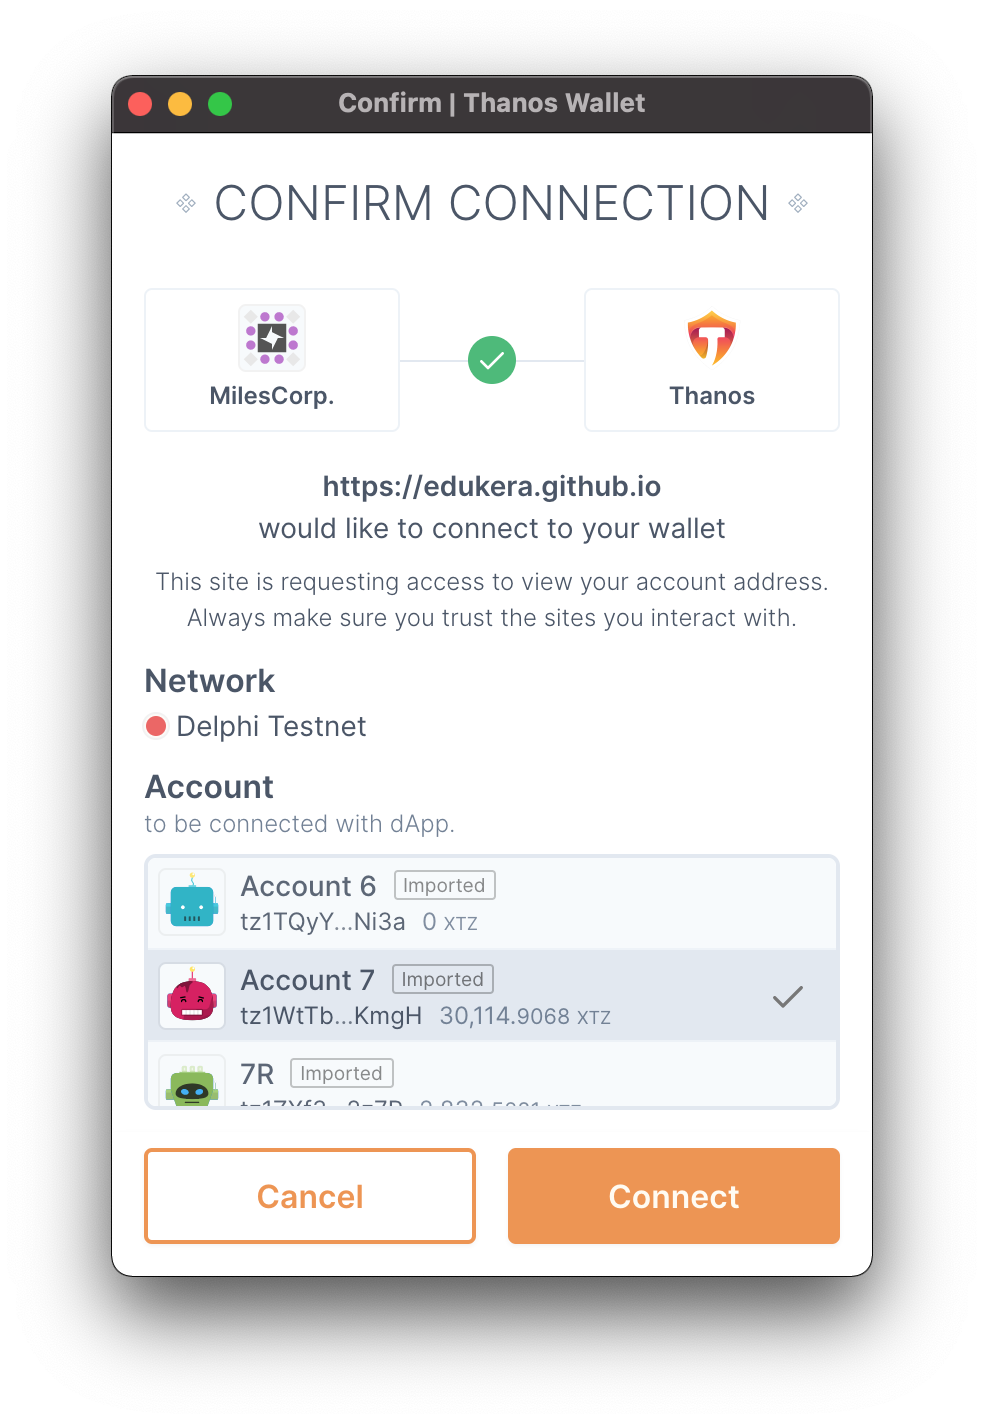
Select and click on the account you want to interact with, and click on the "Connect" button.
Connect with another account
It may be necessary to switch from an account to another when connected to a Dapp. The only way to do so is to remove the connection to the Dapp and reconnect.
To remove the connection to the Dapp, click on the "Settings" menu, as illustrated below:
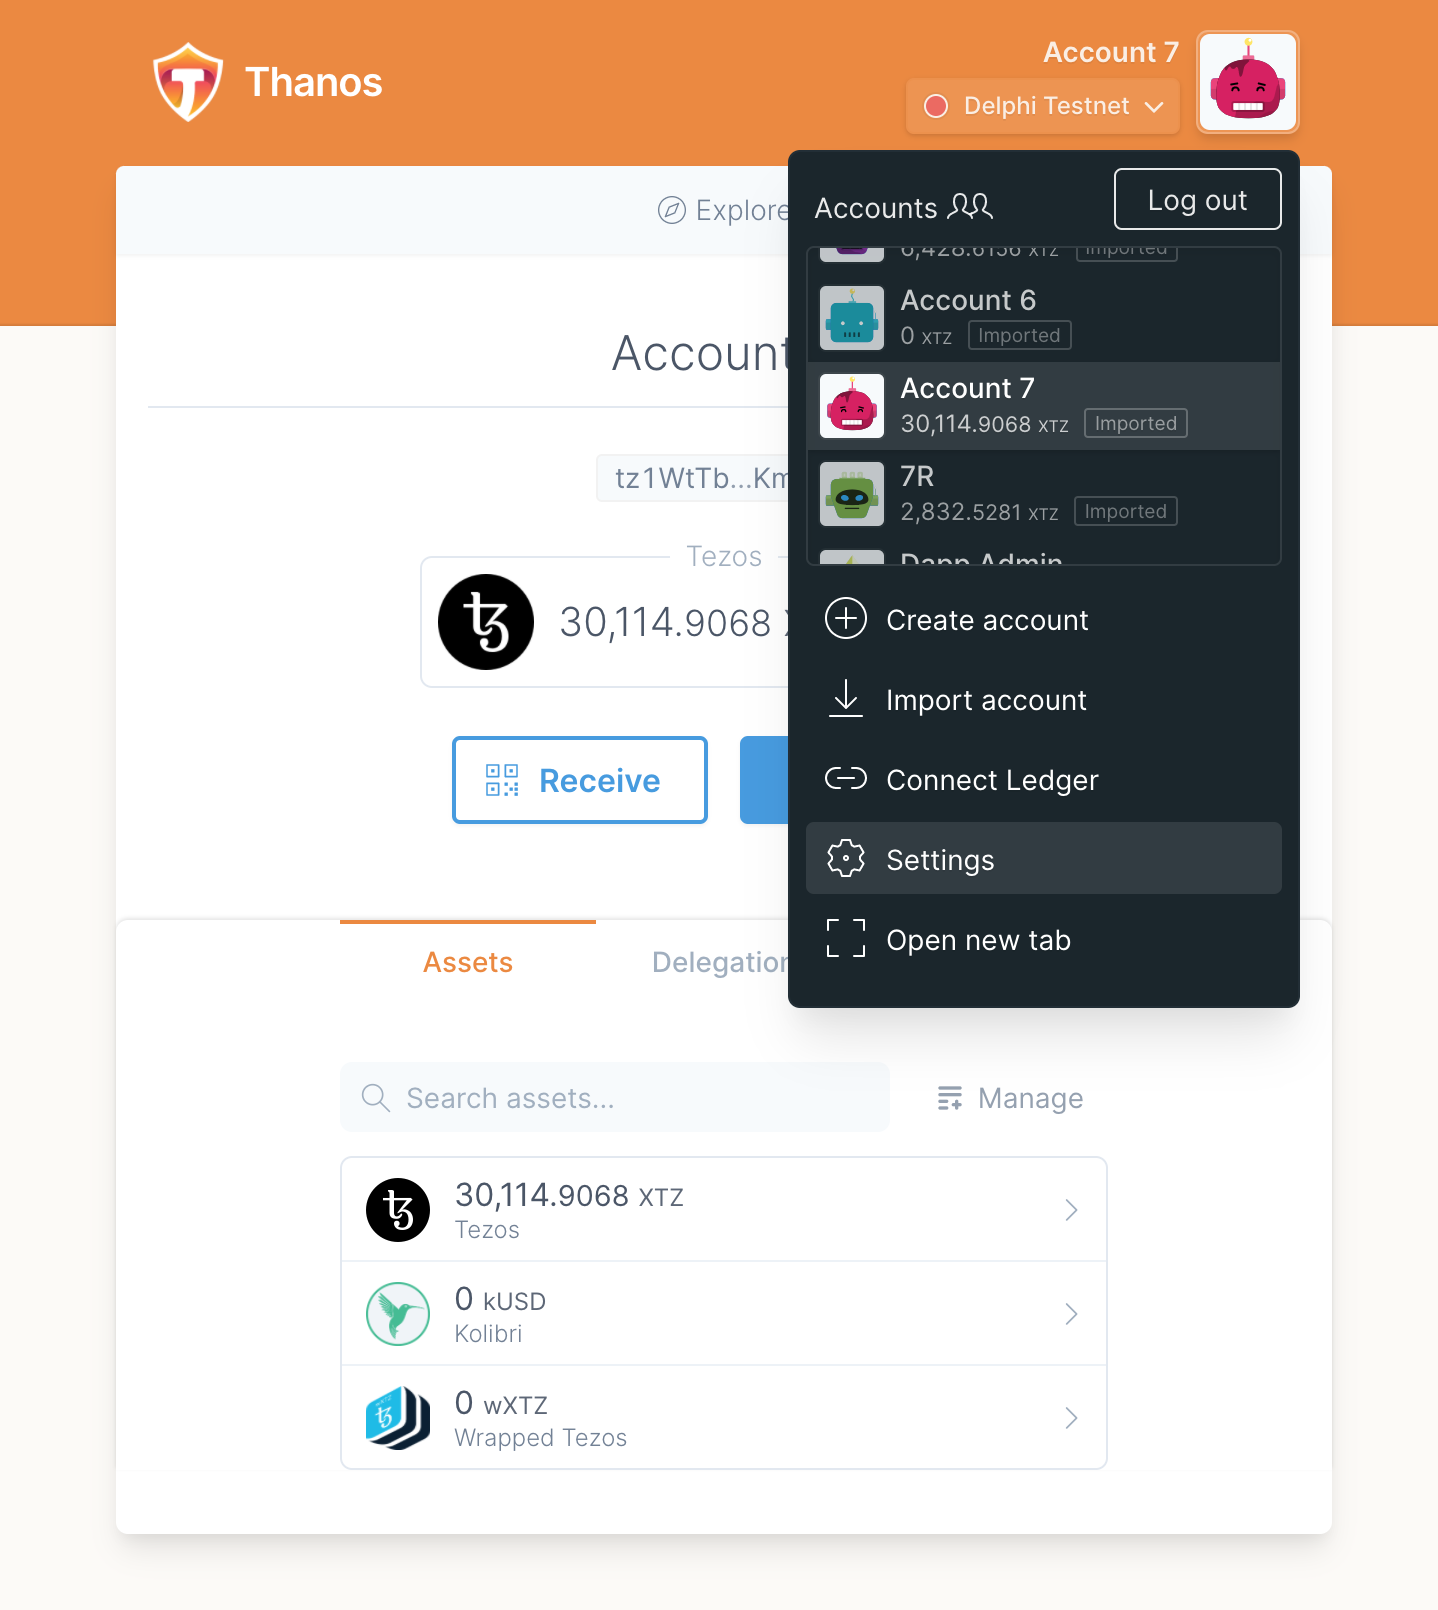
Then click on the "DApps" menus (in purple):
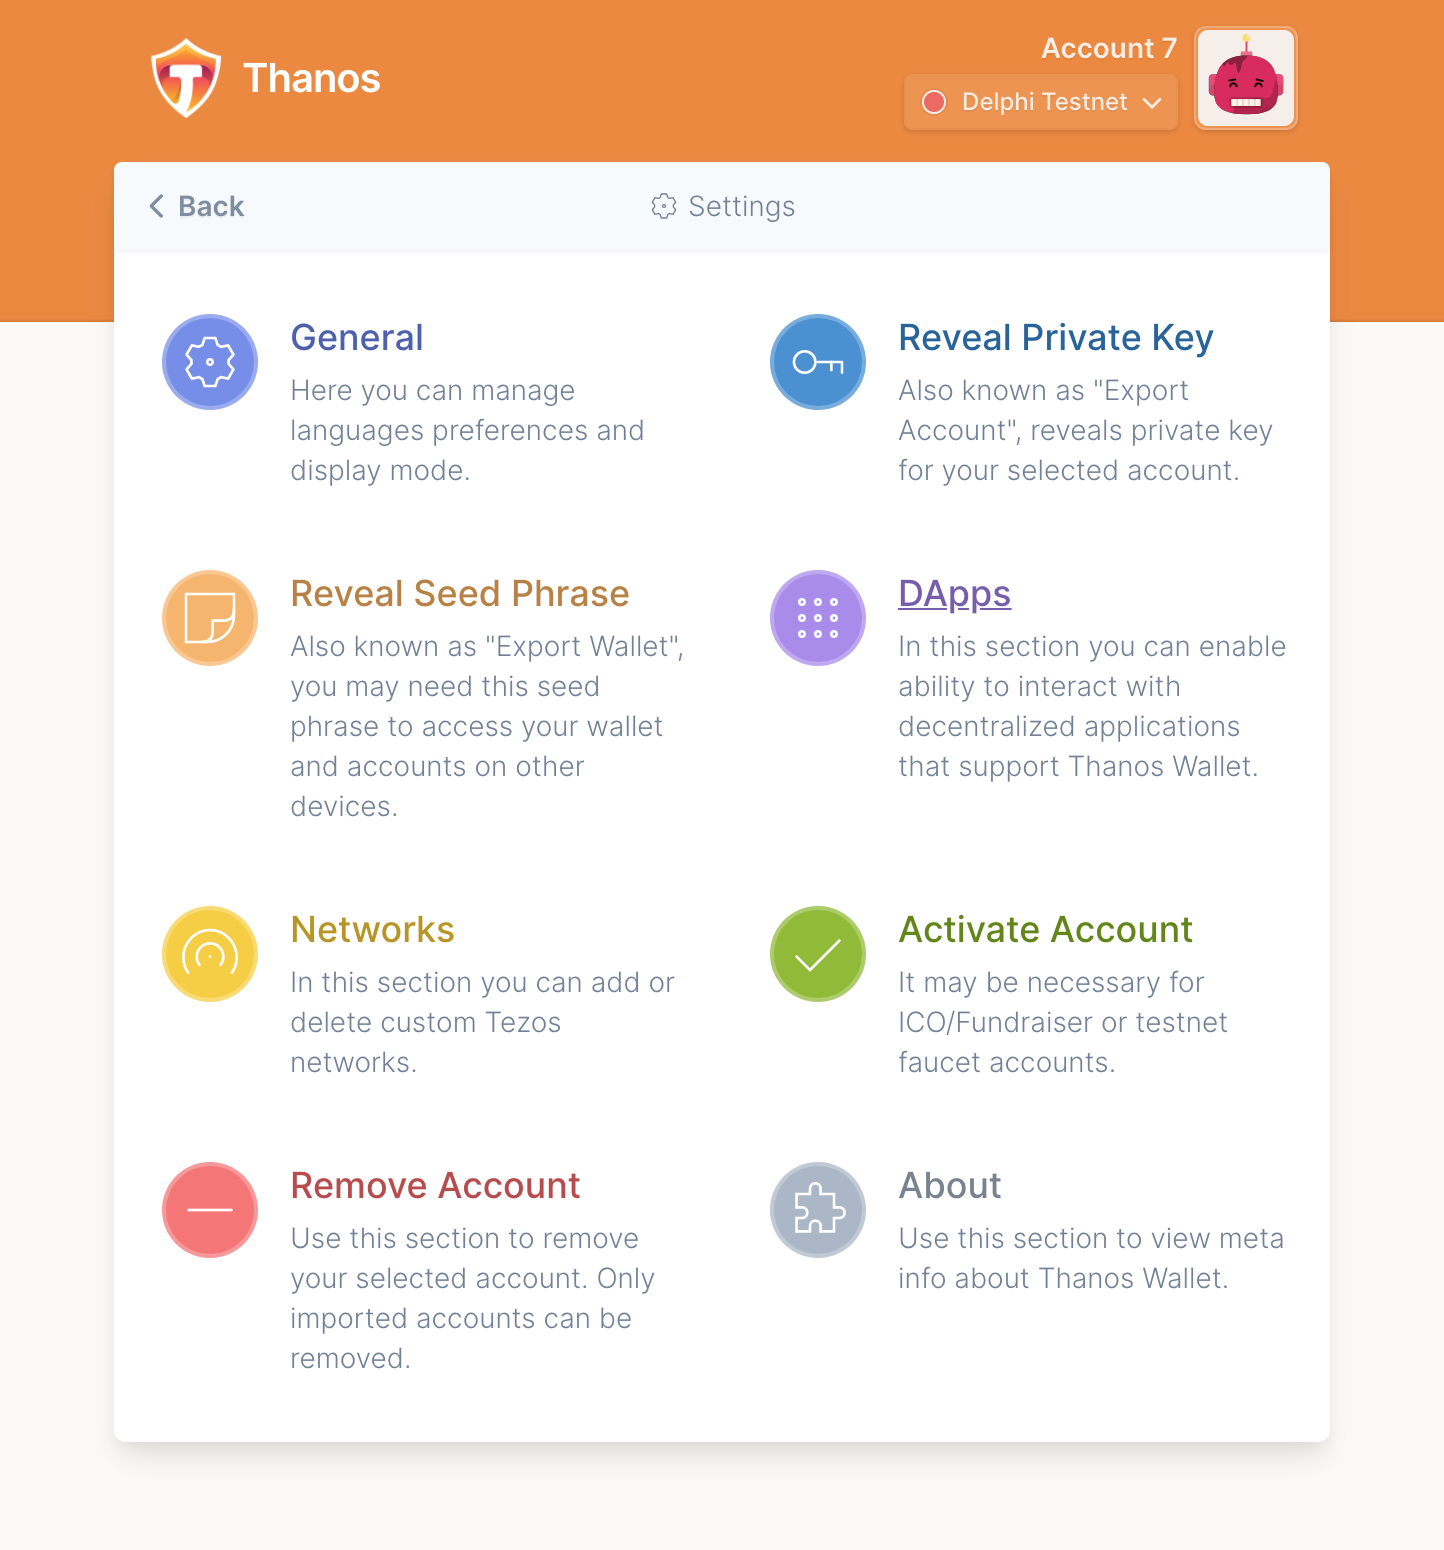
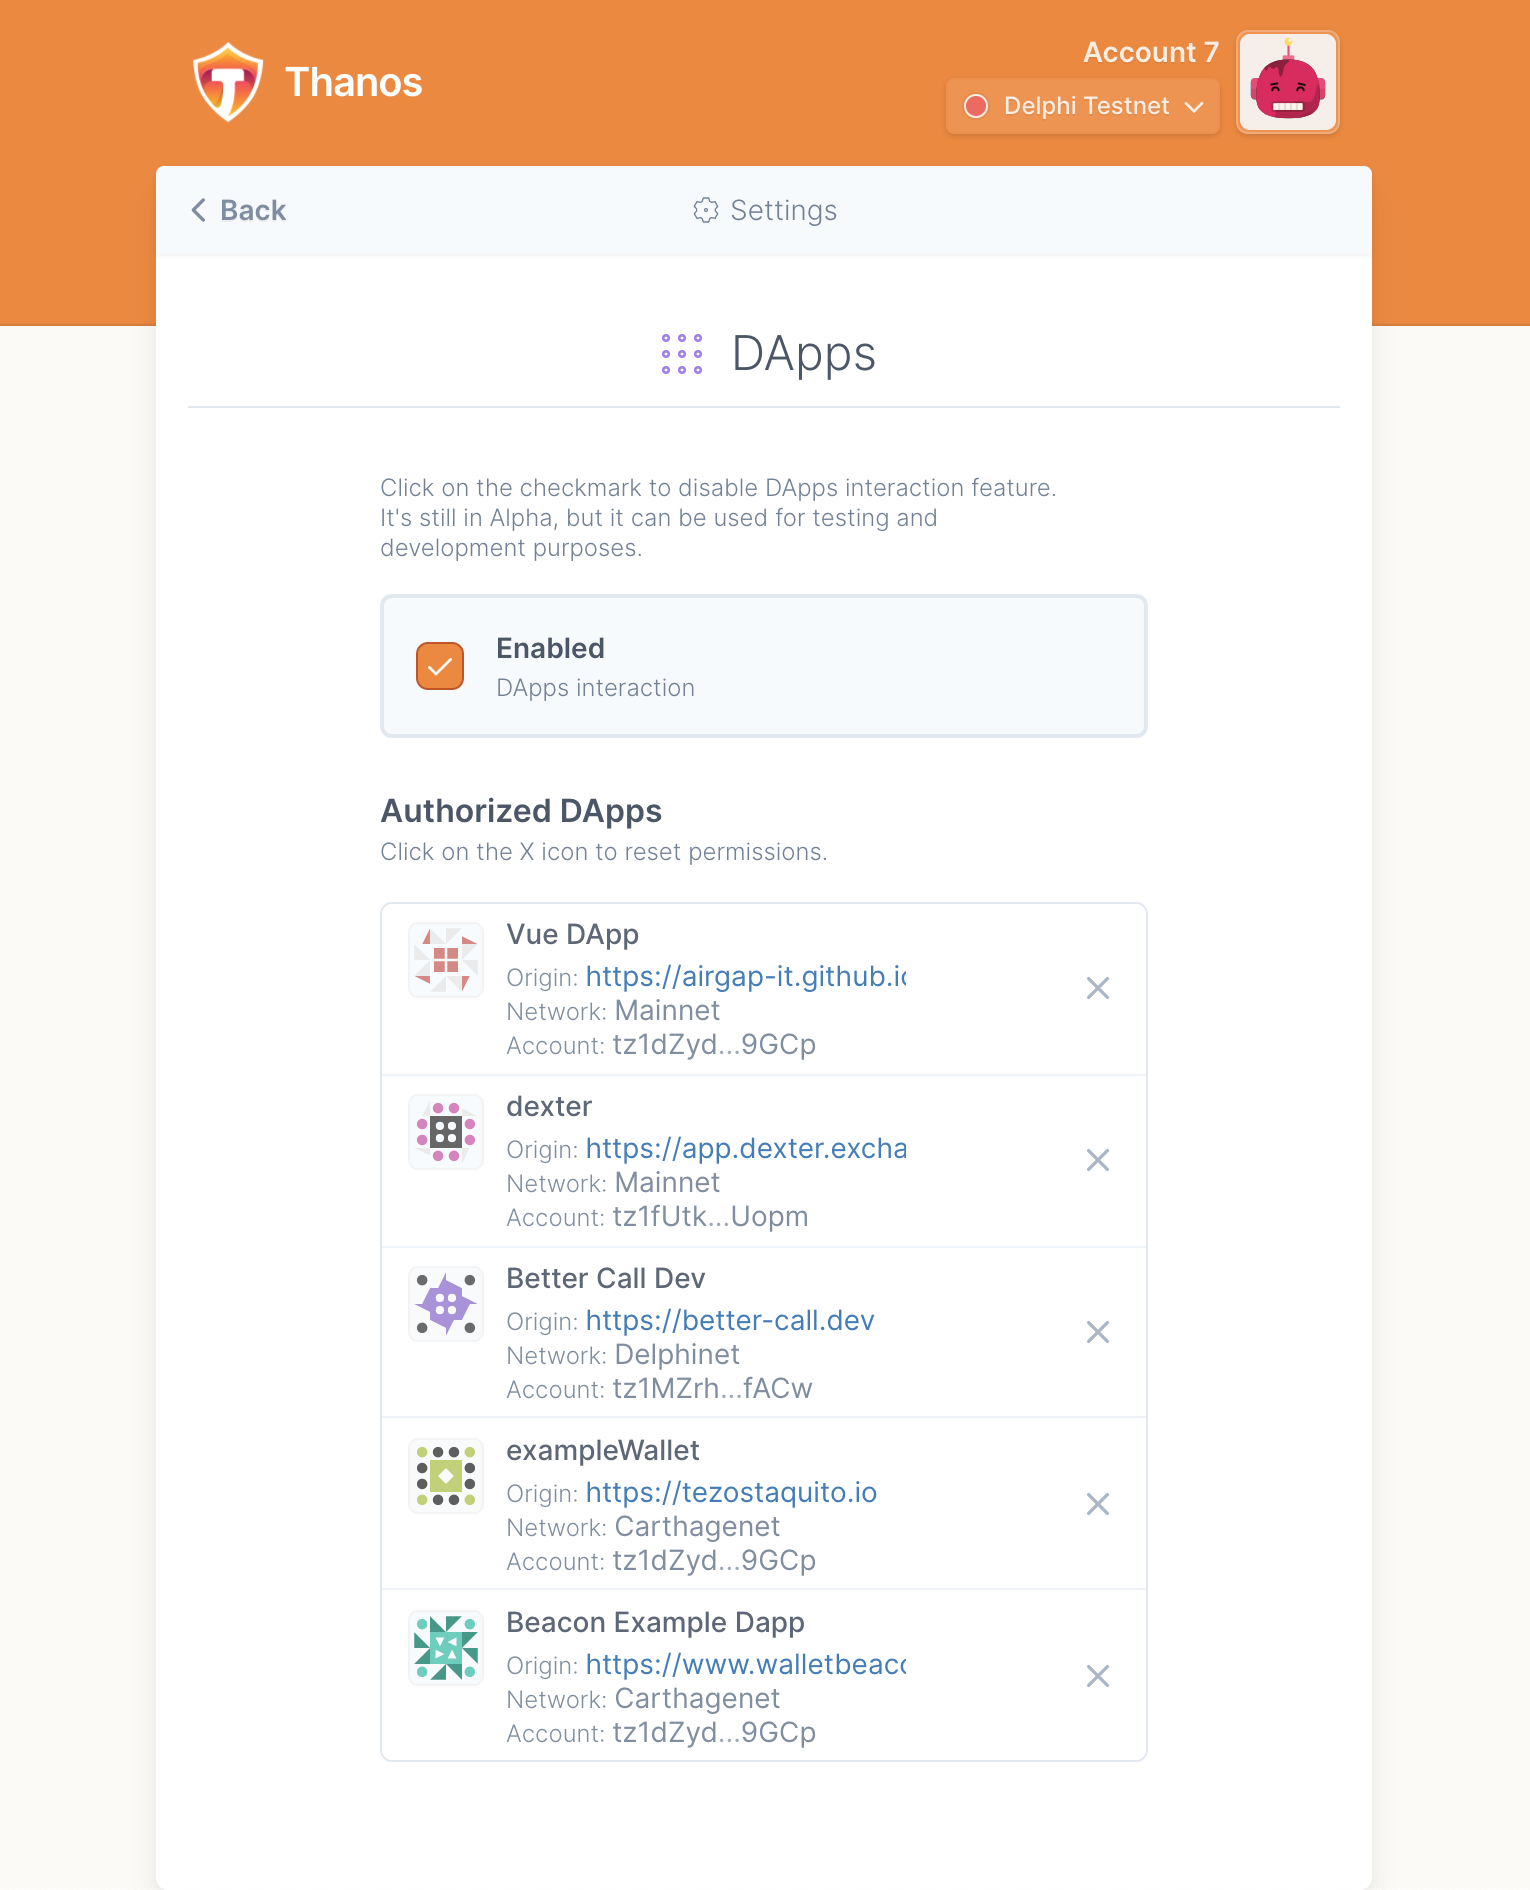
This panel presents the list of connected/authorised Dapps and the account address it is connected to. Click the cross on the right hand side of the authorisation you want to remove:
